The Advent Calendar at last
At last I made my Advent Calendar. I made it very fast. My target was to hang the calendar on 1st December before my son came back from school. I started it on November 30th. I decided to make some white pockets. Suddenly in remembered some blank invitation cards I bought from OfficeMax in heavy discounted price. I bought them mainly for those envelops came in the packets, which I needed at that time. Those cards were not attractive , at least to me. So, I cut the border out. The size of the white parts came out was perfect for the pockets.

I was in a hurry, and I couldn’t think about how to make all those pockets. Then, I told myself to cool down , so that, I can think. Though it is too late to give the idea, how I made it, still I’m sharing step by step of me Advent Calendar.
Step 1: Take some white card stocks. If you don’t want to make big calendar, then keep the size of each pocket in mind. Otherwise, when you attach them together, the calendar will be huge. Unfortunately, I didn’t measure the size of the card stocks before making the pockets.
Approximately each card stock was 7” x 4”.
Step 2: Fold each white card stock in the middle just like a small greeting card. One side of the card cut a half circle using a circular punch.
Step 3: Take a ruler. On the folded side, measure 1/2 inch from both ends. You can see in the picture, I put two pencil dots, on the both ends (you can see in the previous picture). You can draw squares on the ends, or just cut out to approximate squares from both end.
Step 4: Take one card stock at a time. Take ruler, and bone folder. I don’t have any bone folder, so, I used my nail file(ha ha ha). On both end of the card, put the ruler just covering the cut out part. Then score. According to the score, fold the parts of the card. If you have scoreboard, and bone folder, the task will be easier than mine.
Step 5: On the thin folds put glue according to your choice. I used Tacky Glue. Fold the card, and stick. The pocket is ready. Take few pockets together, and clip them. I used some cloth pins. Let them dry.
Step 6: Decorate each pocket as you like. I cut some scrapbook papers and decorated them.
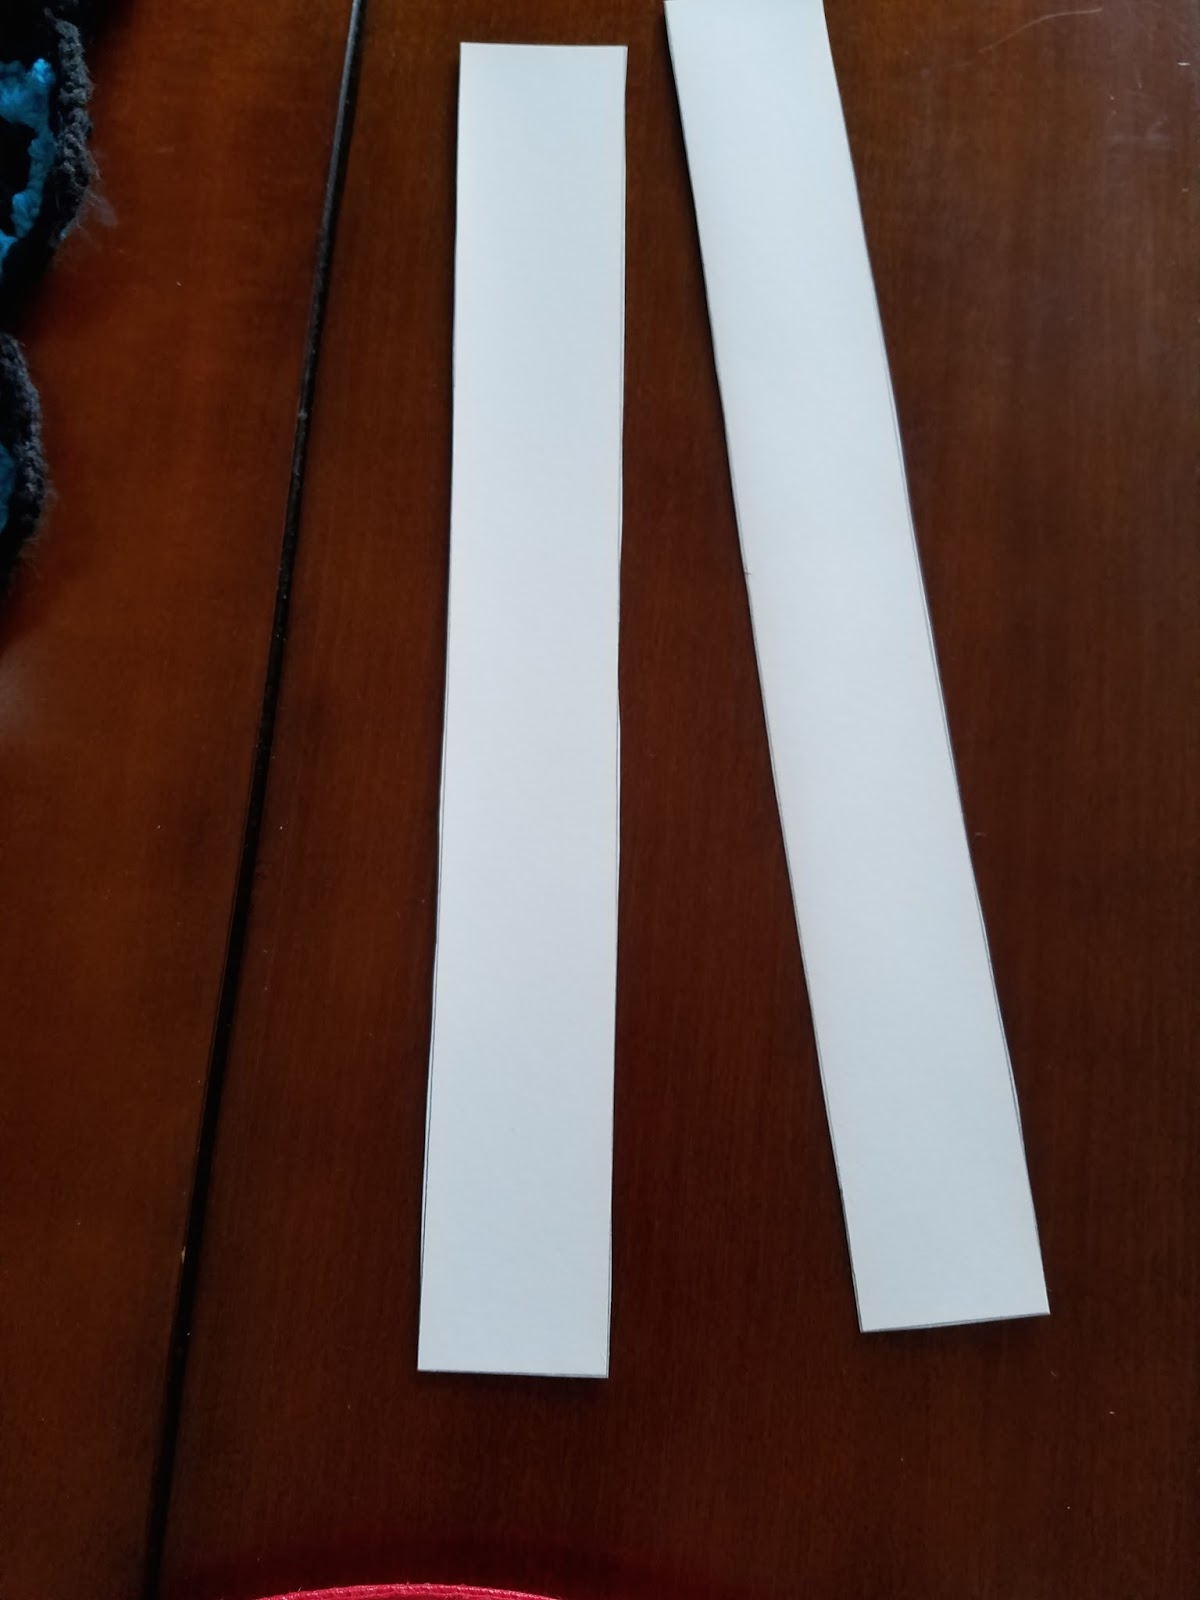
Step 7: This part was very time consuming and tough to me. You need some chipboards. Don’t use any corrugated chipboards, they will make the calendar bulky. The thin chipboards from cartons will do the best job. I had one long big carton from my kid’s toy. I cut that into thin long strips.
Step8: Arrange the pockets with front down on the floor, or on a table. Cut the chipboard strips, according to your need, and glue them down on the back side of the pocked to stick them together.
Step 9: Take a ribbon of your choice, glue on the top to make a loop. Which will help you to hang the calendar.
Step 10: Make some small cards, and write some fun activities on it. Put those card with chocolates in each pocket. Hang it on the wall.


18 comments:
Looks wonderful, a great make.
Very clever and meaningful, Krishna. I'm sure your family will enjoy each day as we approach Christmas. ♥
Great ideas!
www.recklessdiary.ru
Great job!!
How very clever you are, it really looks nice.
What a neat Advent calendar! I like that generous size of the pockets...they look like they're large enough to fit teabags! Thank you for the visit and enjoy the holiday season.
such a creative idea for your advent calendar, love how you decorated them all and made it in the shape of a tree :)
Excellent post (as always)!Thank you very much :) xx
What a wonderful surprise for your son when he came back from school! It is a great idea and you are very creative. Looks simple but a very time consuming project. And the Advent calendar turned out to be a Christmas tree!
Very cute and great instructions! How fun -- such a treat to open!
What a good idea:)))
Hugs from France:)
Good job!! That is a lot of work! It looks wonderful!!
Hello,
Thank you for your visit.
Congratulations on your calendar, it was beautiful !!
Beautiful tutorial, dear! You're brilliant! Have a great week! xoxo
Very cute DIY advent calendar!
Wow, you worked hard! It looks great. I hope your son liked it. Thank you for stopping by my blog.
What a fantastic advent calendar Krishna. I bet your son loved it. And thanks for stopping by my blog-I'm glad I came by and found you.
This is brilliant, you are so clever.
Post a Comment